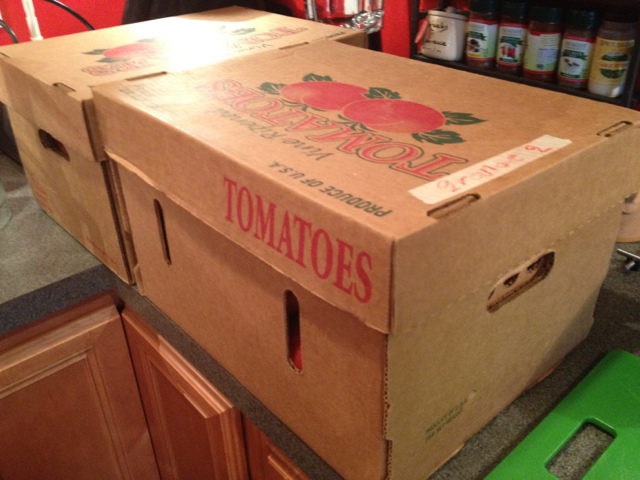
So here I am, overwhelmed with delicious produce! Instead of making a meal that focused on one veg, I wanted something that incorporated all the ripe goodies. Stuffed peppers & eggplant parm certainly used up most of what you see above. Here's how I did it:
Ingredients:
For the sauce
- 6 pounds of ripe tomatoes
- 4 cloves of garlic, smashed
- 10 cippolini onions, or 2 small yellow onions
- 1 tbsp dried oregano
- olive oil
- salt

For the peppers
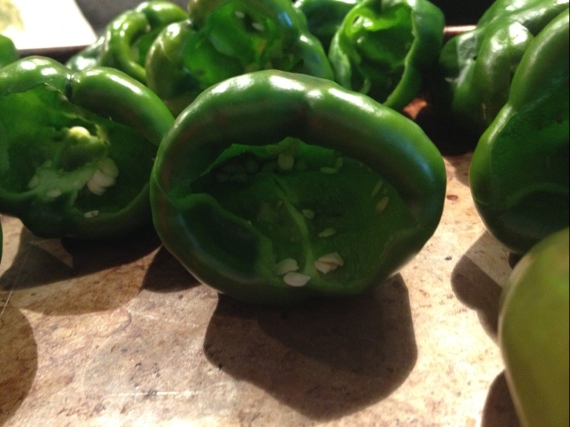
- 3 large green peppers, tops off & seeds out
- 4-6 links of sweet italian sausage, remove casings
- 1/2 pound of parmex carrots (can substitute baby carrots)
- 1 pound of mushrooms, diced
- 10 cippolini onions, or 2 small yellow onions
- 2 cloves of garlic, smashed
- 1 cup of orzo pasta, cooked to box instructions
- olive oil
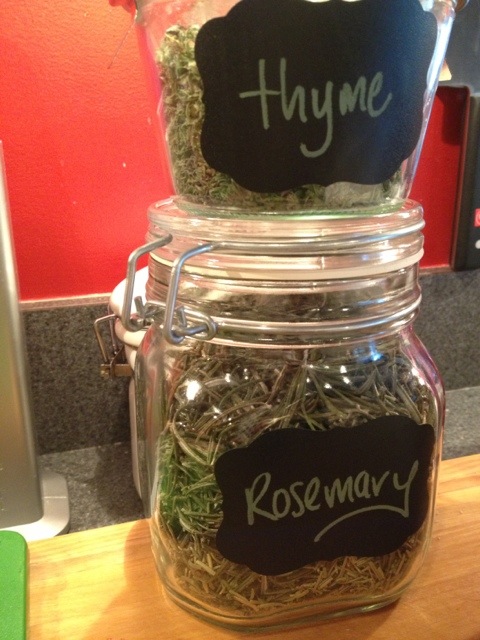
- fresh thyme
- salt & pepper

For the Eggplant Parm
- 1 large eggplant, sliced into rounds
- 2 balls of fresh Mozzerella, sliced into rounds
- 10 leaves of fresh basil
- 2 eggs
- 2 cups of bread crumbs
- 2 cups of all purpose flour
Method:
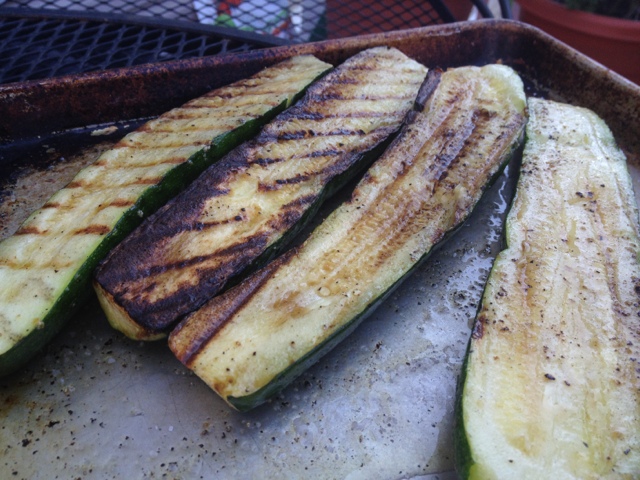
- first slice the eggplant and lay them on a tray. Salt each piece and allow it to weep out the bitterness. After your done with preparing the sauce, flip the eggplant and salt the other side.
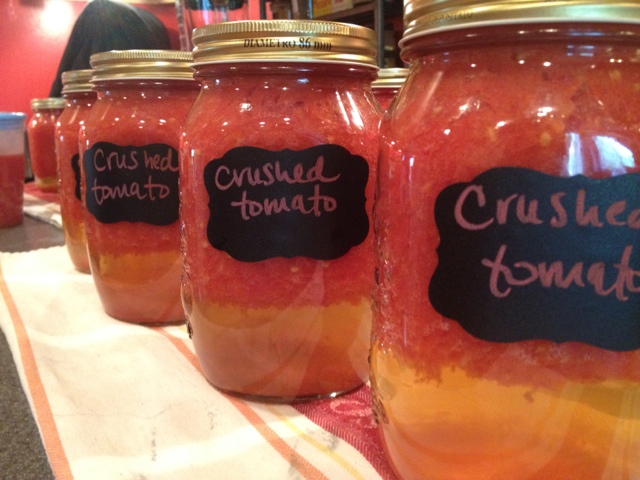
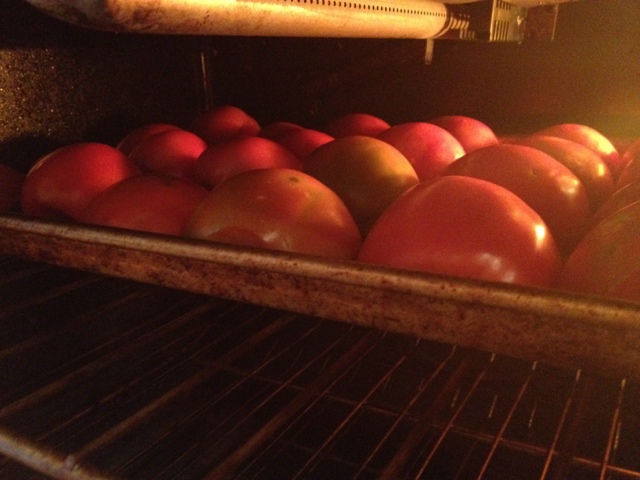
- Now get the sauce going. In a large sauce pot, combine olive oil, onions & garlic. Sauté until soft & translucent. Then add salt & pour in tomatoes, seeds, skin & all - waste not want not - and don't forget the oregano.
- simmer on low heat for as long as possible. Add a 1/2 cup of water here & there, no more than 2 though, as needed.
- while that gently bubbles away, on to the peppers.
- preheat the oven to 375
- cook the orzo according to package instructions.
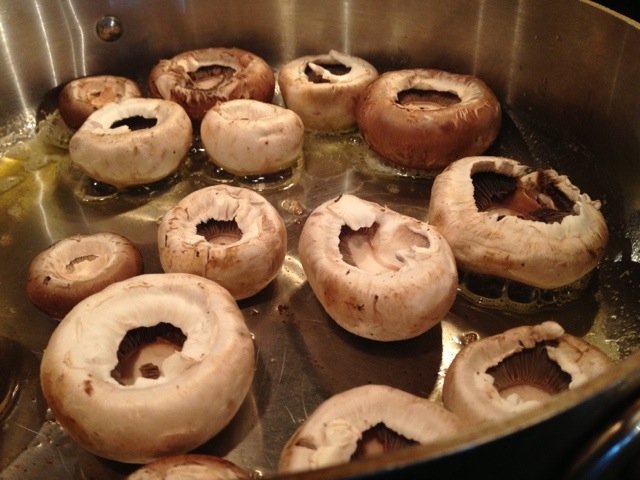
- in a large sauté pan, add olive oil and cook the sausage until just cooked through. When golden brown, remove with a slotted spoon to a clean bowl.
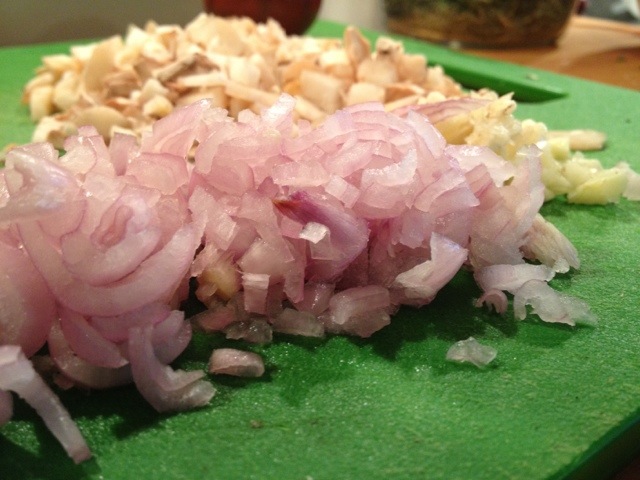
- in the same pan, heat up olive oil (if needed), onions, garlic, carrots, and mushrooms. Cook until soft & translucent, then season with salt.
- add the sausage back into the pan, along with it's juices and the thyme.
- heat off & stir in the orzo. After it cools, spoon into the peppers and rest in an oven-safe pan.
- spoon 1/2 cup of the marinara sauce under the peppers & bake for 20-25 minutes, until the peppers soften


- on to the eggplant
- while the peppers bake, get a large cast iron skillit & fill it with 2-3 cups of olive oil. Heat it up on medium/high.
- set up a dredging station for your eggplant, 3 bowls: one for whisked eggs, one for flour & one for bread crumbs.
- slice your mozzerella
- pat your eggplant dry and start dredging. Eggs, flour, eggs, bread crumbs. Once you have 4-5 done, test your oil for temp. If you put in a breadcrumb it should sizzle. If it doesn't, increase the heat and test again.
- we cooked 4 slices at a time and flipped after 3-4 mins. You want the golden brown crust. Rest each cooked slice on a paper towel lined tray.
- once the eggplant are done, layer sauce, eggplant & Mozzerella in an oven-safe dish and bake for 20-25 mins. We then broiled it for 5 mins to get the browned top. Garnish with fresh basil & dig in!


It was a day full of cooking. I started in the AM with the eggplant & sauce, then did the rest in the afternoon. We used up a ton of vegetables, and just in time for us to head out on vacation. How have you been using up your summer harvest?

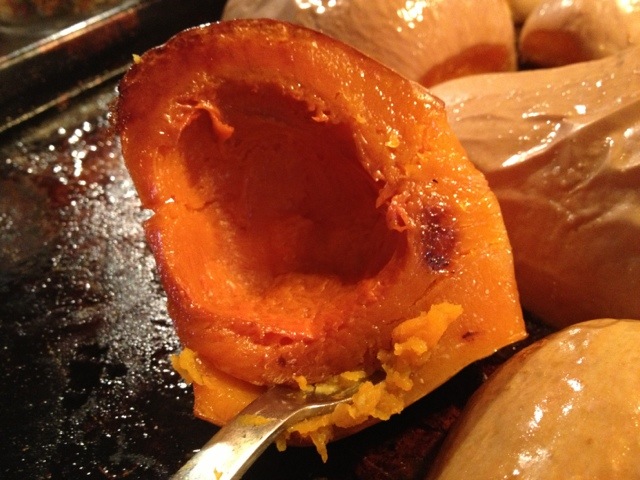
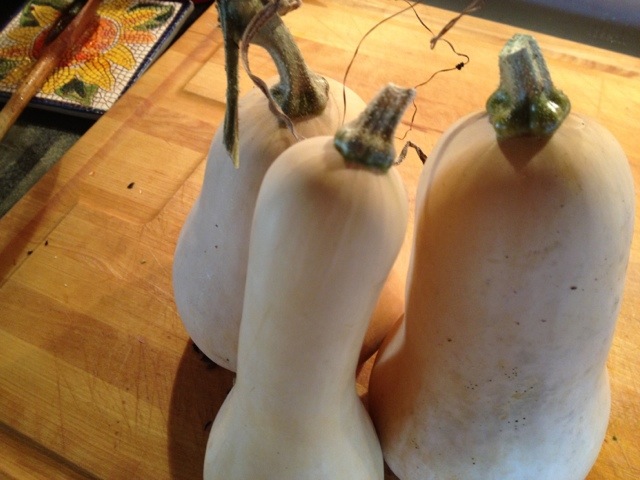 Carrots & sweet potatoes are great, but no vegetable revs my tastebuds quite like butternut squash. It quietly grows all spring & summer and has the most delicious sweet flesh. Butternut squash is and always will be one of my garden staples. I may only harvest a few each year but, they are worth the work & wait.


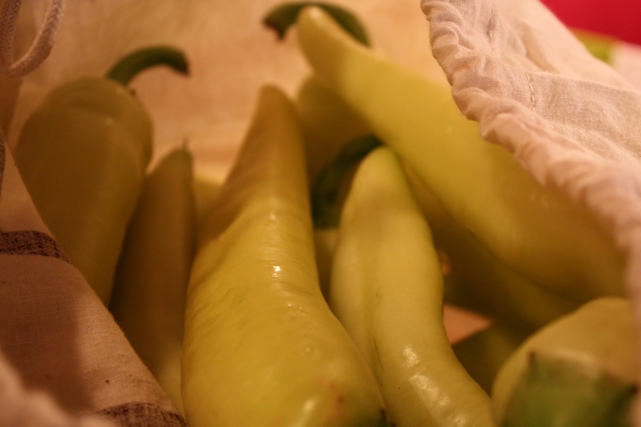
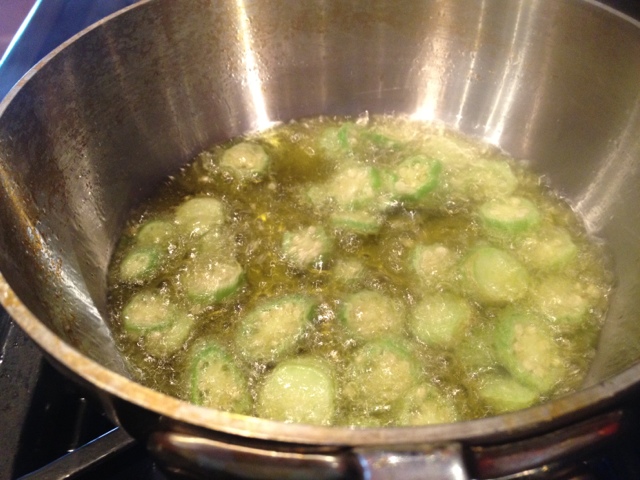
 Peppers were hot & plentiful this season. From jalapeño to pequillo, and fish peppers too, there was no short supply. In addition to
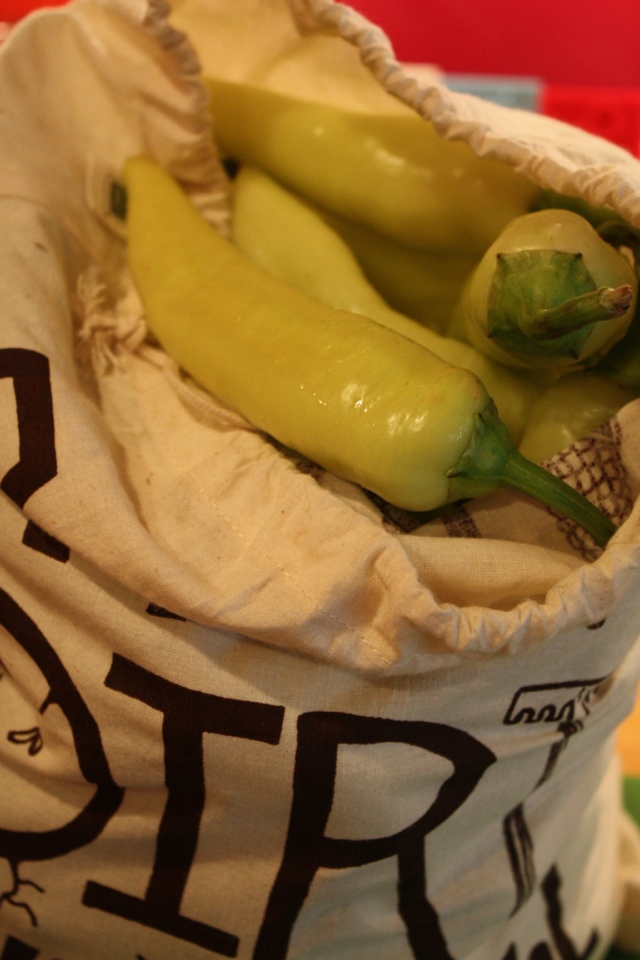

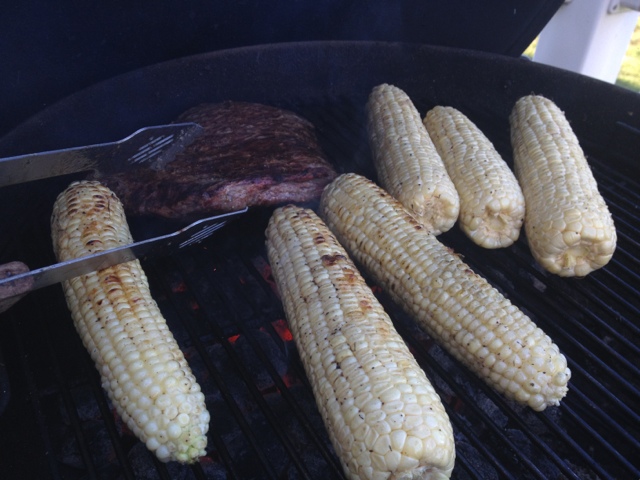


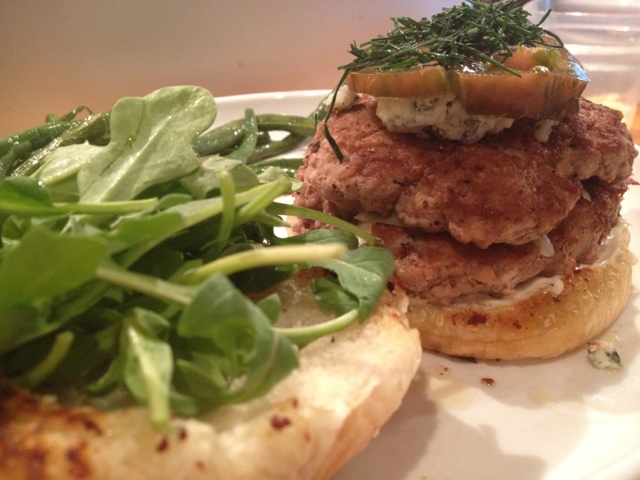


 This gooey treat takes me back to my childhood, but the cheese is better & so is the meat! I used home ground beef, sharp cheddar, red dragon cheese & lots of shallots. Serve this dish with a gigantic leafy salad, this is definitely full fat - and I enjoyed every calorie. Then promptly took a walk!


 My goal is to grow organic, non-GMO veg & herbs to feed my growing family. So I grow most of my garden from seed. But every once in a while I'll find an organic farm that grows plants to sell at farmers markets - enter purple ruffles basil. I was enamored by the color and scent of this little plant back in May. Now, this garden behemoth is ready for a trim, purple pesto anyone?


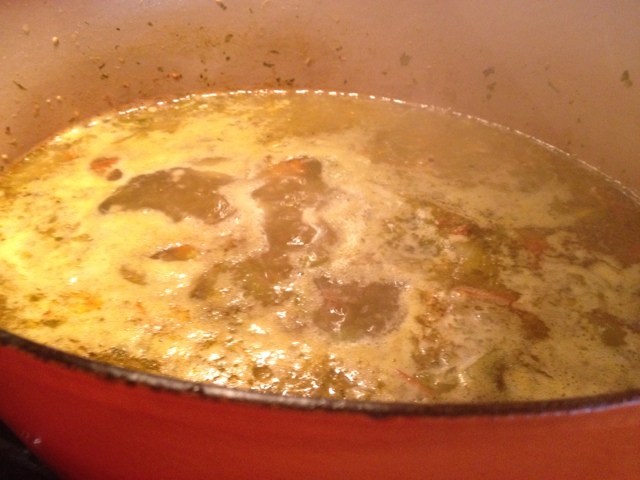
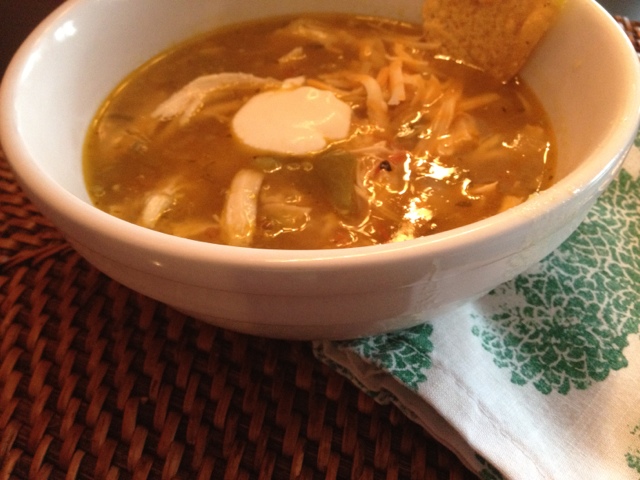

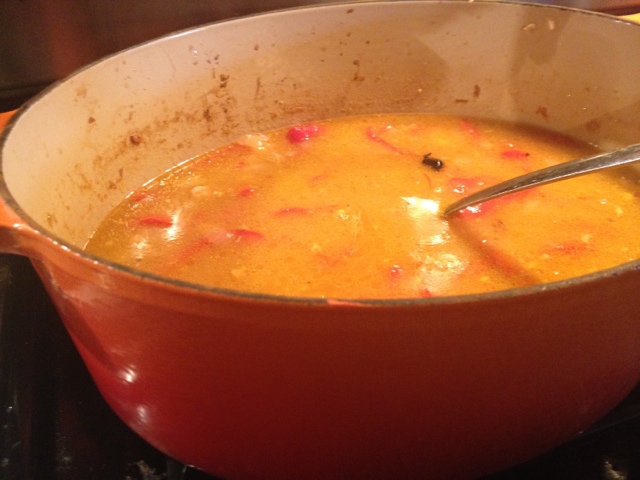
 It was a surprisingly moist summer in my neck of the woods. We had rain at least once a week, and a few dreary days. Thankfully, we've had a few scorchers too, and they were around just long enough to ripen my tomatoes & bell peppers. Today is one of those dreary days, and that means chili!

 Tucked beneath my tomato plants you'll find an abundance of basil. This year, like with


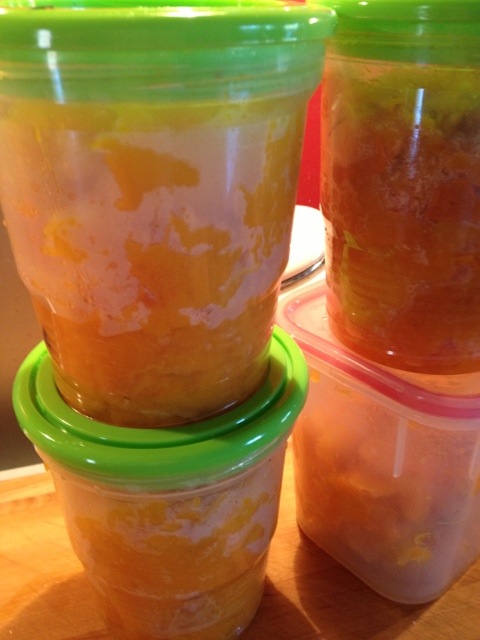
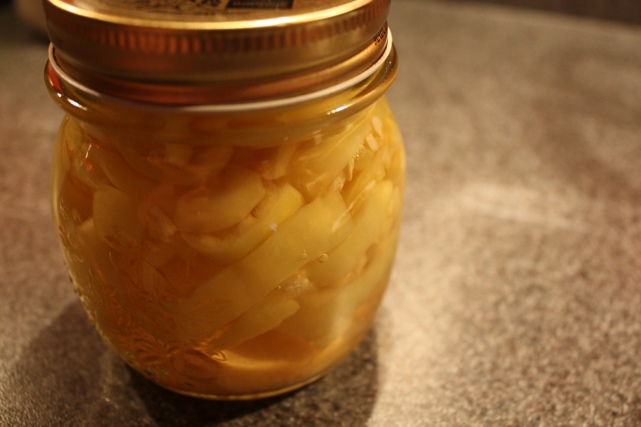
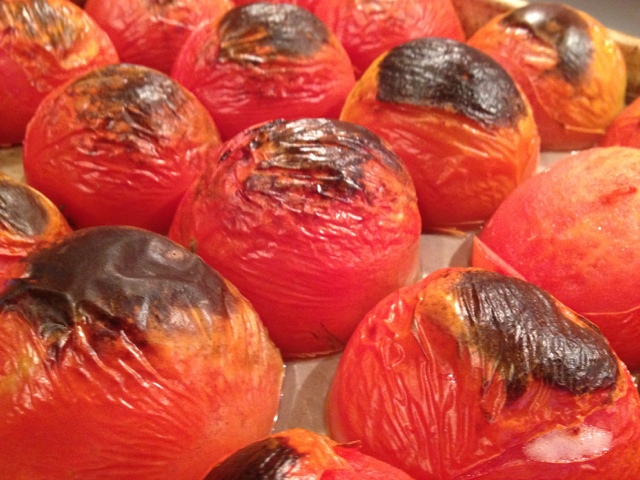
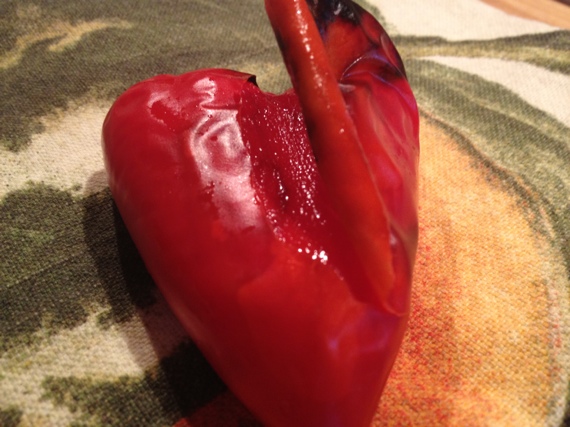
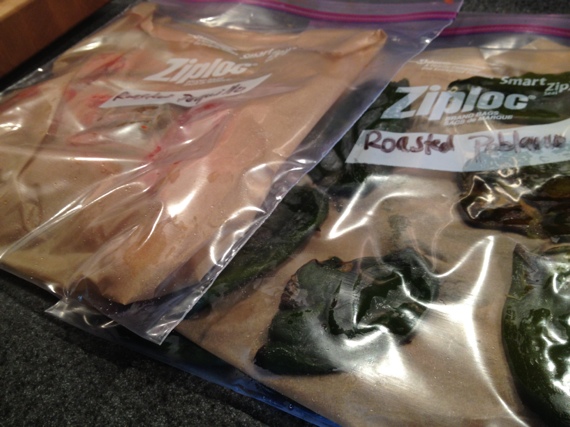
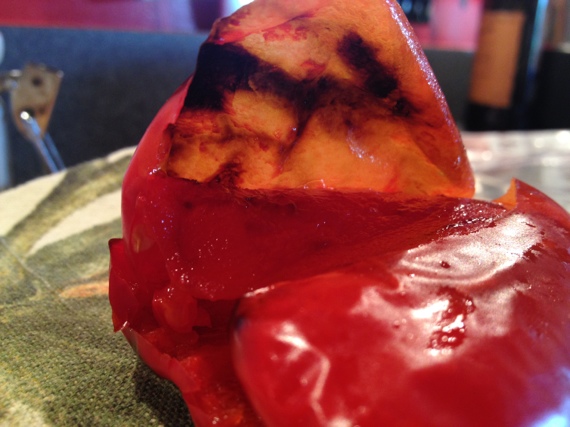 There's nothing like coming home from vacation to find a ton of ripe peppers in the garden! Since it will take me a we days to sort through the laundry, catch up on emails & so on, I decided to roast and freeze these beauties for a later date.
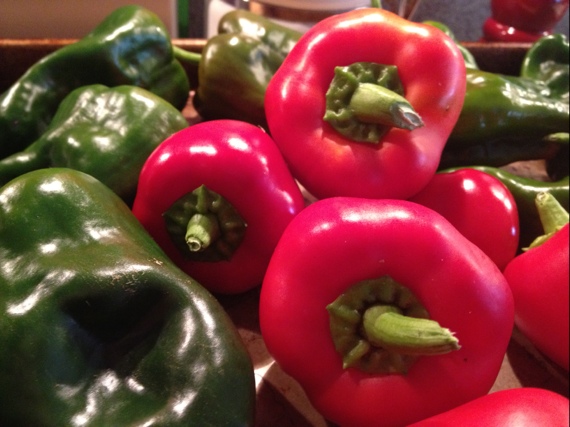

 We're swimming in kale again. Instead of making soup, or a side, I decided to take the leap and make some kale chips! Two blogger gal pals have had great success with kale chips.